


Good Evans! Souths teen becomes latest AFLW signingJuly 24, 2026
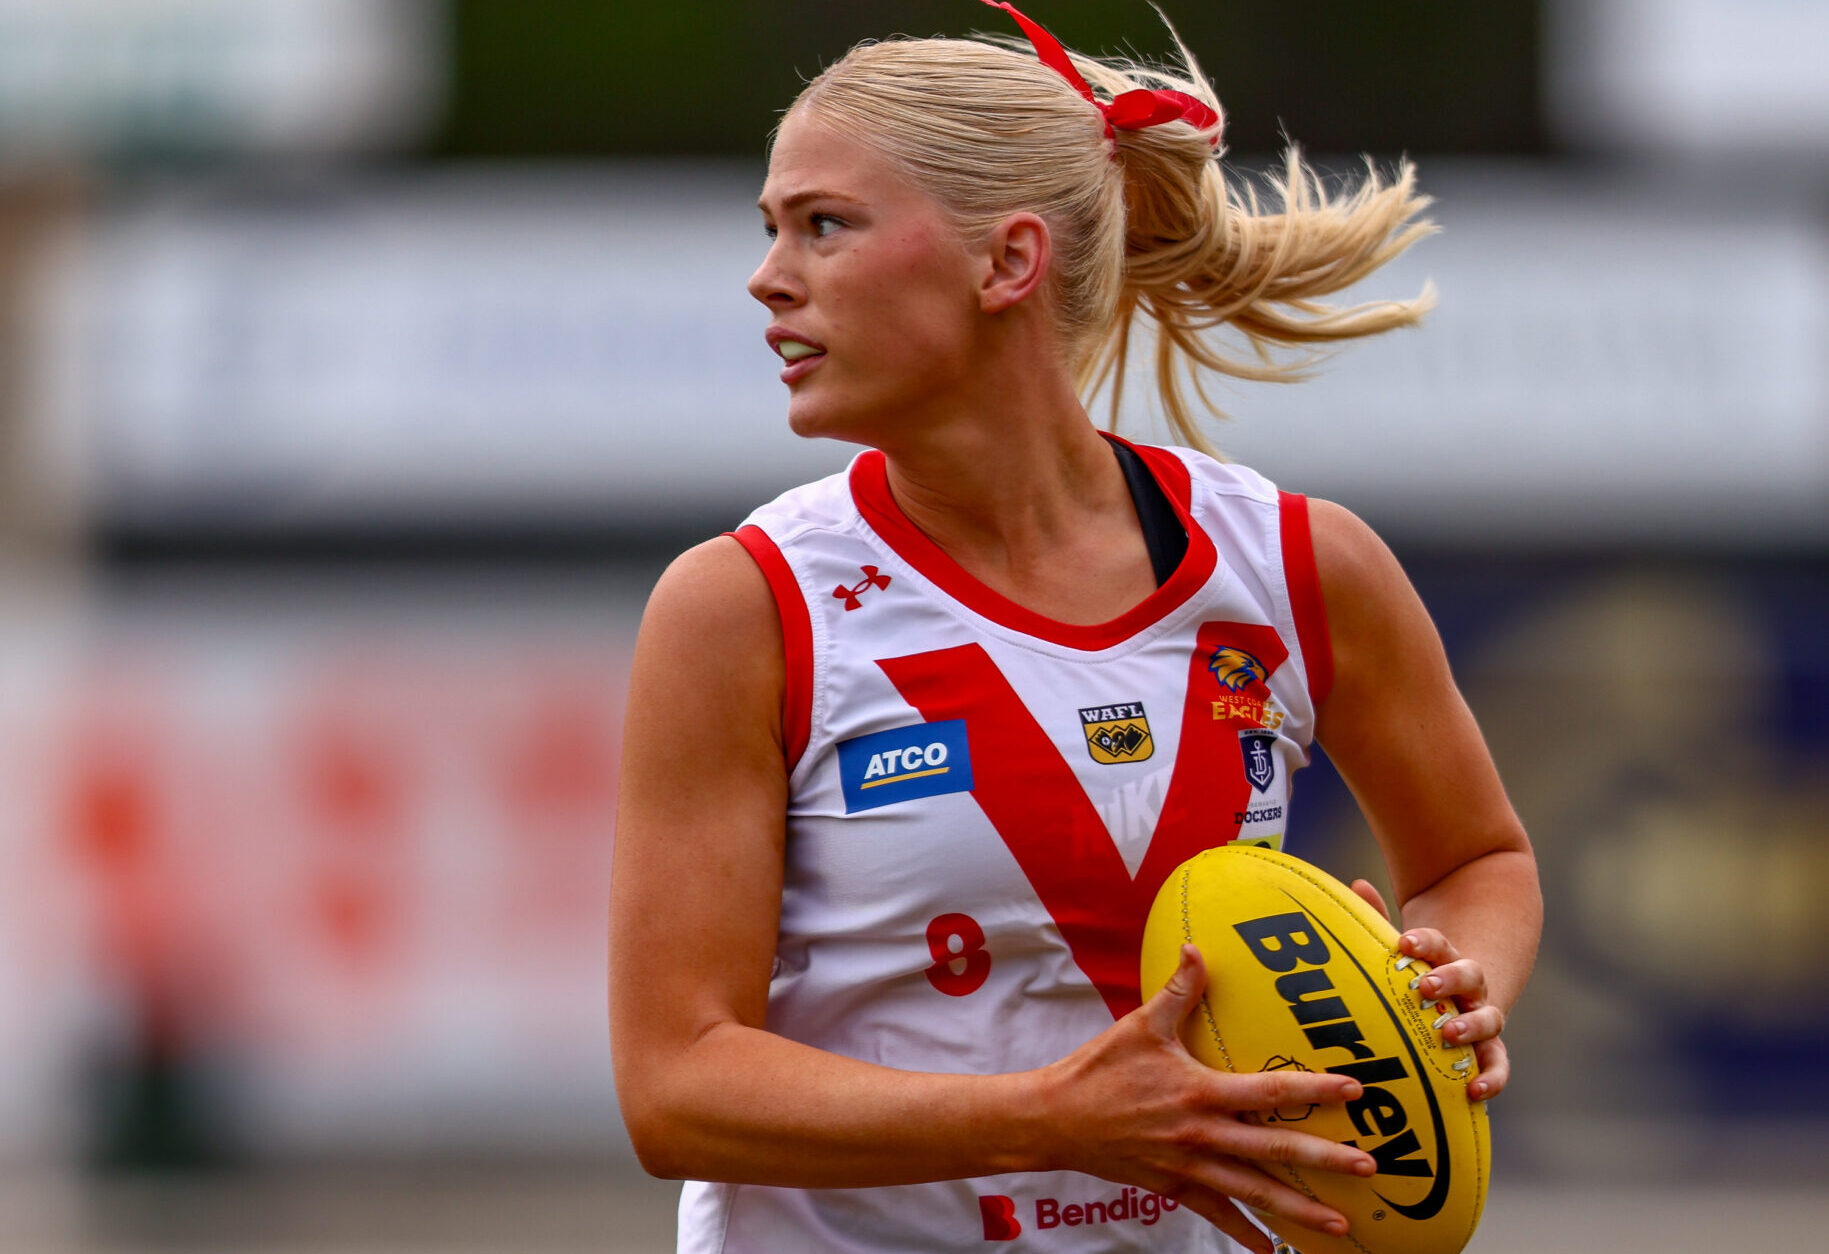
South Fremantle teenager Madi Evans has become the latest ATCO WAFLW talent snapped up by an AFLW club.
The 19-year-old has...
Jordan McArdle

ATCO WAFLW Grand Final Set for Fremantle ShowpieceJuly 24, 2026
WA Football is pleased to announce that the 2026 ATCO WAFLW Grand Final will be played at Fremantle Community Bank...
Jordan McArdle


Item 1 of 9